
In this guide, we have explained how to set up both wired and wireless microphones in Windows 11, along with the two methods to test the microphone in Windows 11.
Set Up a Wired Microphone in Windows 11
Before we set up the wired microphone, we first need to learn which port you need to connect the microphone to. So let’s go ahead and find out how to set up a wired microphone in Windows 11.
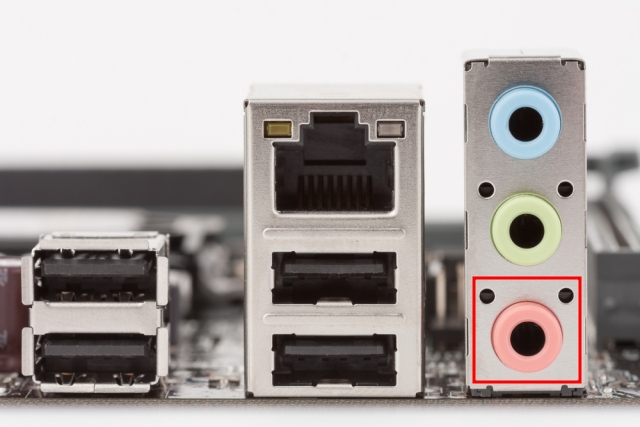
1. If you are using a Windows laptop, generally the 3.5mm audio jack works for both sound output and microphone input. So you should connect the wired microphone to the headphone jack on your laptop. And if you are using a custom-built Windows PC, the mic port will be the pink color one. You should also look for the “mic” icon around the ports.
2. Once you have connected the microphone to the right port, open Settings by pressing “Windows +I” and move to System -> Sound.

3. Here, under the “Input” section, choose the wired microphone you want to use, and that’s it. You have successfully set up a wired microphone in Windows 11.

Set Up a Wireless Microphone in Windows 11
we have already taught you how to enter to sound in settings, once you enter to the sound settings follow the steps below
1. Scroll down and move to the “Input” section. Here, click on “Add device” next to “Pair a new input device”. This will open the Bluetooth pairing window on your PC.

2. Here, choose “Bluetooth” in the pop-up window.

3. If your wireless microphone is in pairing mode, it will show up here. Once it appears on the screen, click on it and follow the on-screen instructions to pair the microphone.
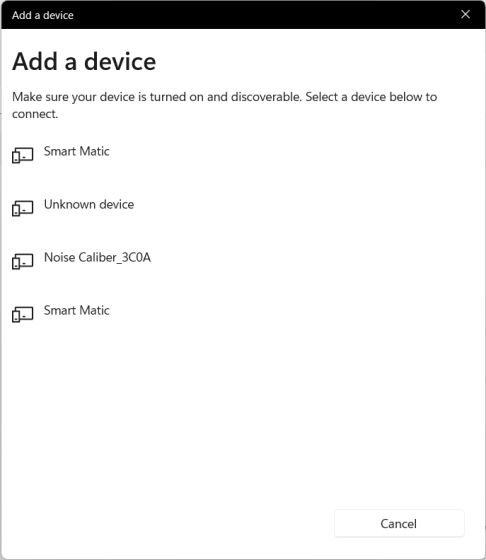
4. That’s all. Under the “Input” section, make sure the wireless microphone is selected as your default mic.
We have explained two native ways to set up the microphone in Windows 11.


.jpg)

.webp)
No comments:
Post a Comment